Modelling a Brockley home with Vulcan
Vulcan aims to make it easier for energy assessors to use the UK Government’s new Home Energy Model (HEM): so they can save time and money, move away from SAP (the methodology currently behind EPCs), and create more value for their clients.
Vulcan can now integrate directly with Cursor, Claude, and ChatGPT, or with scripts you build yourself, letting assessors work in their preferred AI environment. That means assessors can ask an LLM to create parameter files, batch model configurations, execute simulation runs, and compare results between scenarios without leaving their favourite AI chat.
In this article I use these new capabilities to ask questions about how to improve my own Brockley home: a cold 1930s South London mid-terrace building with uninsulated cavity walls, still running on an ageing boiler.
Step 1: Build the base model
Vulcan captures on-site survey data required for the Home Energy Model in a structured CSV format. Anything you physically locate on a floor plan (the size and position of walls, windows, doors, and various systems) lives in that CSV file, while a companion defaults JSON file fills in dependable assumptions such as location weather, infiltration templates, and typical schedules. Splitting inputs this way means our users only need to collect what’s unique to a property, and can do so in a format easy to read or edit with Excel/Sheets.
Here's what I did to complete inputs for my home:
- Draw orthogonal rooms, then fine-tune dimensions for precision.
- Edit the front wall to match the bay-window profile so the glazing surface area is accurate.
- Mark the side walls as adjacent to conditioned space (our neighbours) to adjust how heat loss through these elements is calculated.
- Add external shading blocks for the hedges and neighbouring buildings, to support more accurate solar gains calculations.
- Select every element and adjust wall height as a group to keep floor-to-ceiling dimensions consistent.
- Draw windows (holding Shift for rapid placement), then batch-edit the openable area of the three styles: central bay, side bay/mid-size, and glazed door.
- Drop a shading overhang object above each window to capture the eaves.
- Copy the ground-floor group, flip it to the first floor, and tweak the few differences (landing offsets, rear window sizes).
- Place the front door, snap it to its parent wall, and update properties so infiltration and U‑values are correct.
- Add two sloped building elements for the external roof plus the inner ceiling that defines the thermal envelope, marking the roof as unheated and pitched.
- Edit thermal properties in the defaults file (eg, increasing solar absorptance of the roof given dark tiles, but reducing thermal resistance given surveyor feedback), then dive into detailed suspended-floor attributes (height of suspended floors, ventilation areas, resistances at wall junctions) required for a HEM simulation.
- Use HEM’s simplified settings for thermal bridges, appliances, and lighting for this first pass so I can focus on the geometry.
- Add an intermittent bathroom vent, radiators in each room, and approximate internal walls for thermal mass.
The data entry took ~30 minutes, plus an hour to research details that weren’t on the floor plan like window free-area heights or frame areas, and the appliances/lighting per room. The final result looks like the below:
The CSV file that captures this data records 1 zone, 15 exposed elements, 11 windows, 7 window-shading objects, 12 adjacent/party elements, a single suspended ground slab, 8 radiators, 8 lights, 4 appliances, 4 hot-water fixtures, 7 context obstacles, and an intermittent MEV system. That’s roughly 70 individual objects: compact enough for a solo assessor to sanity-check.
Step 2: No interface required — running Vulcan conversationally
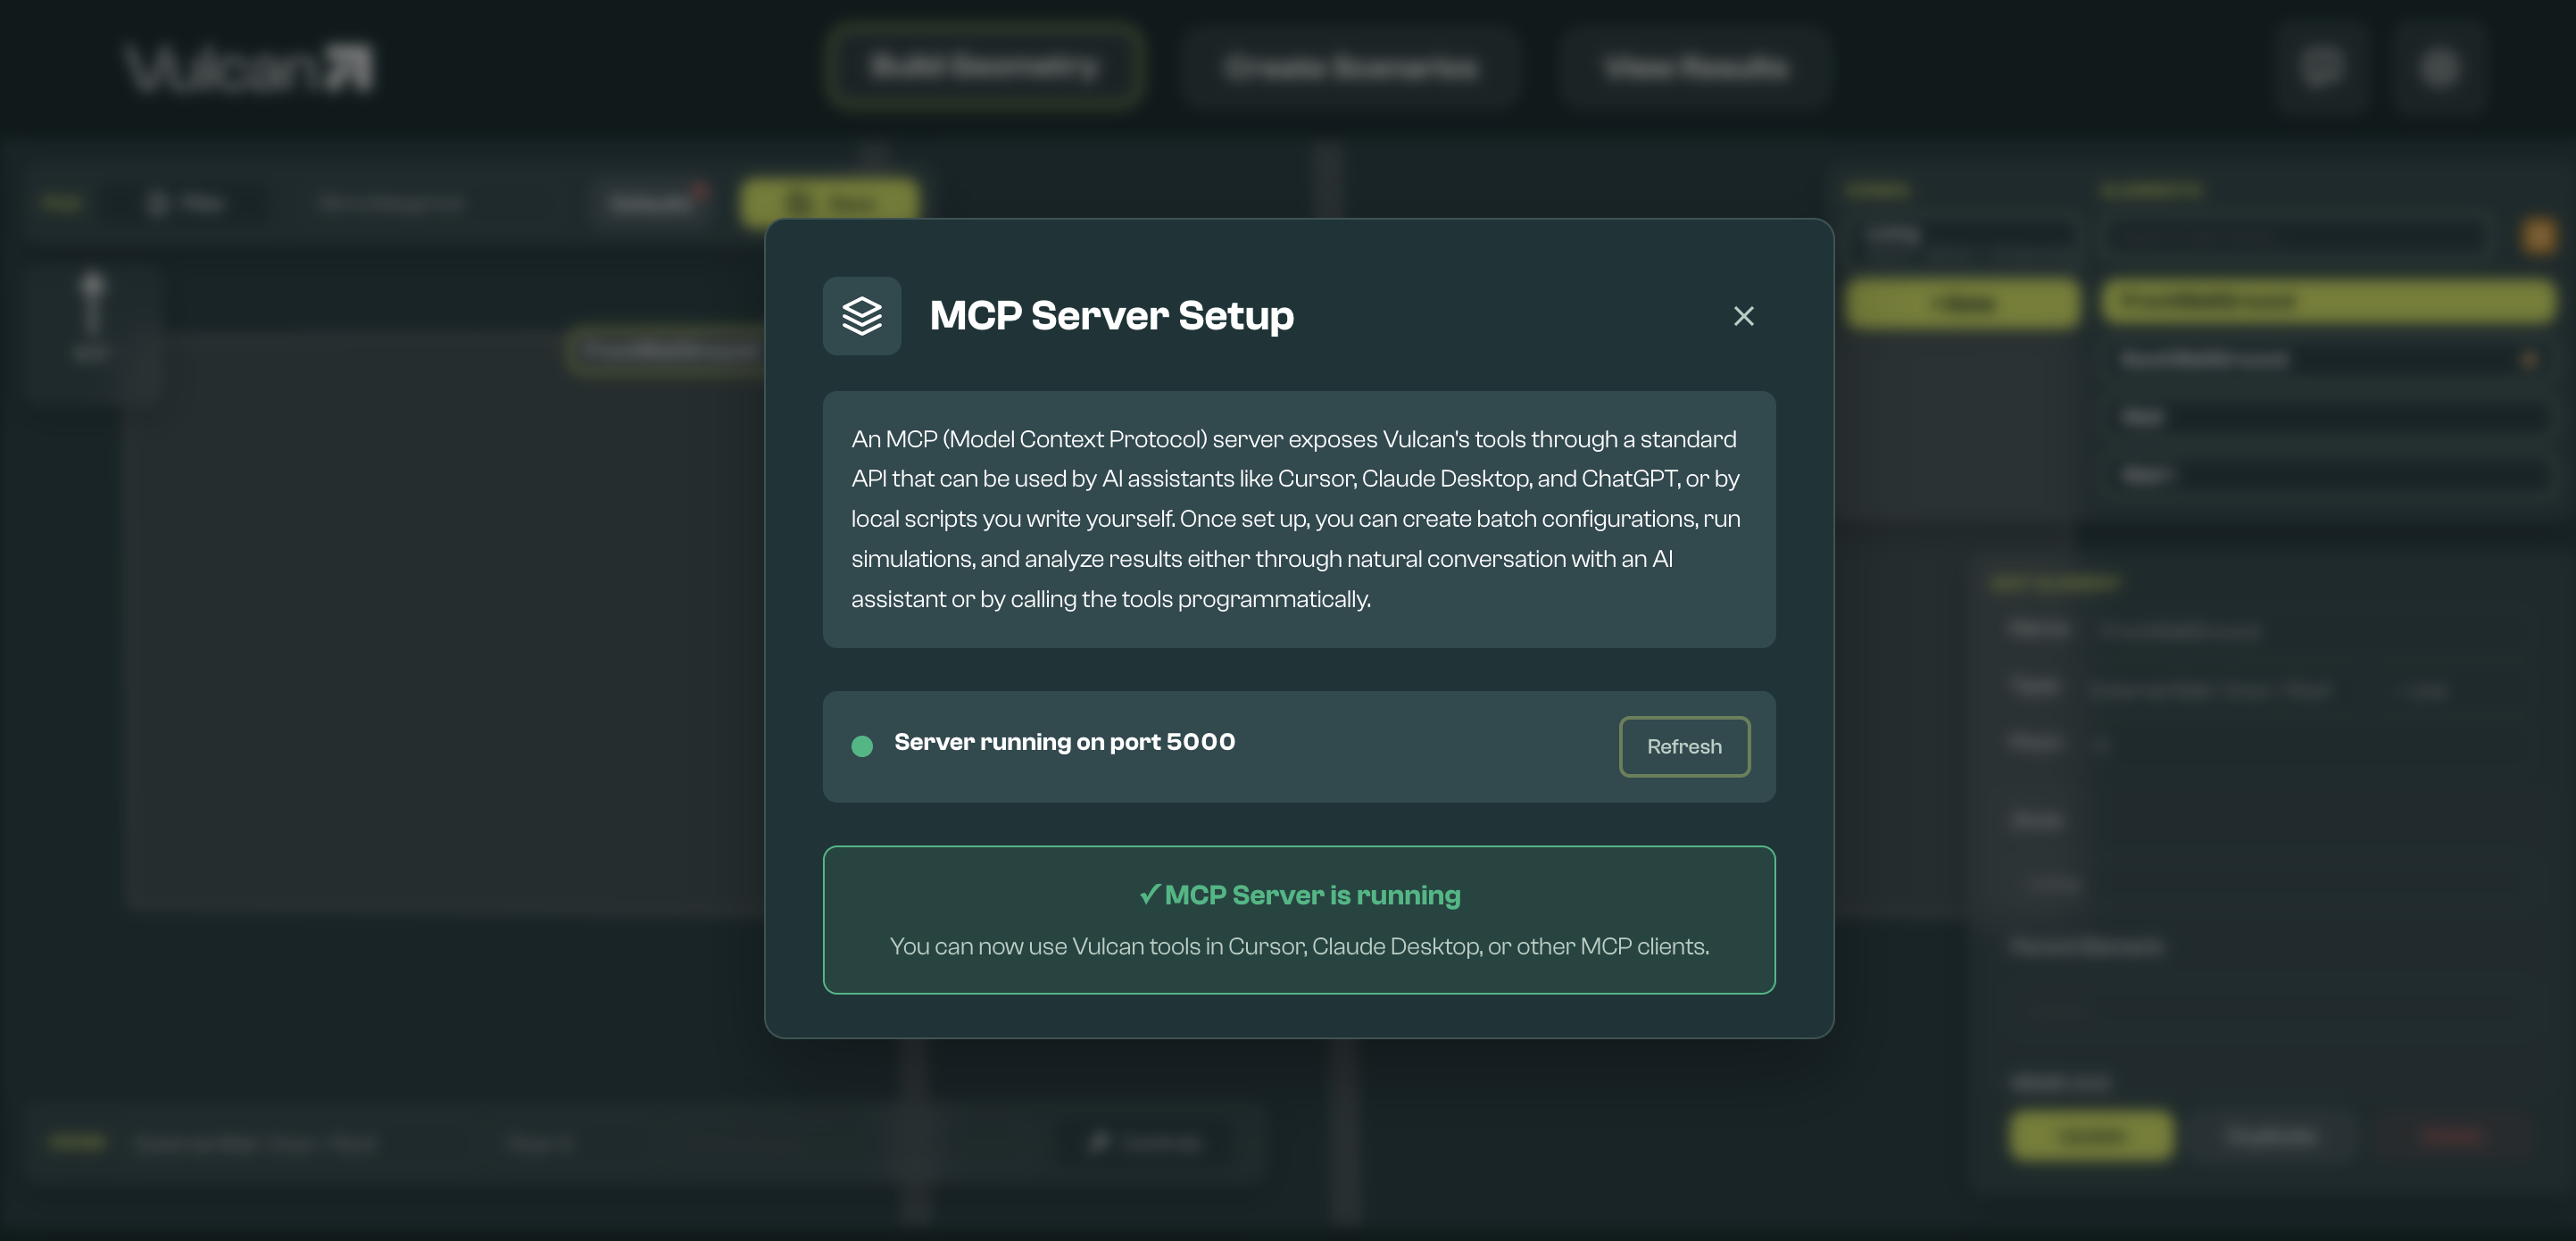
With the base model ready, I switched to Cursor and ran all my remaining analysis through the new Vulcan MCP (Model Context Protocol) server. MCP is an industry standard for LLM-readable APIs to expose the same commands as the Vulcan web app, including creating HEM parameters (that add or vary systems or controls), running simulations and synthesising results.
That opens up two big wins: assessors can embed Vulcan in their own workflows, and they can work conversationally with AI assistants to orchestrate modelling work on their behalf (Cursor, Claude, ChatGPT - desktop versions that have locally hosted MCP integrations).
Key findings from my modelling:
The Brockley house has empty cavity walls and an ageing boiler that we may relocate with internal remodelling.
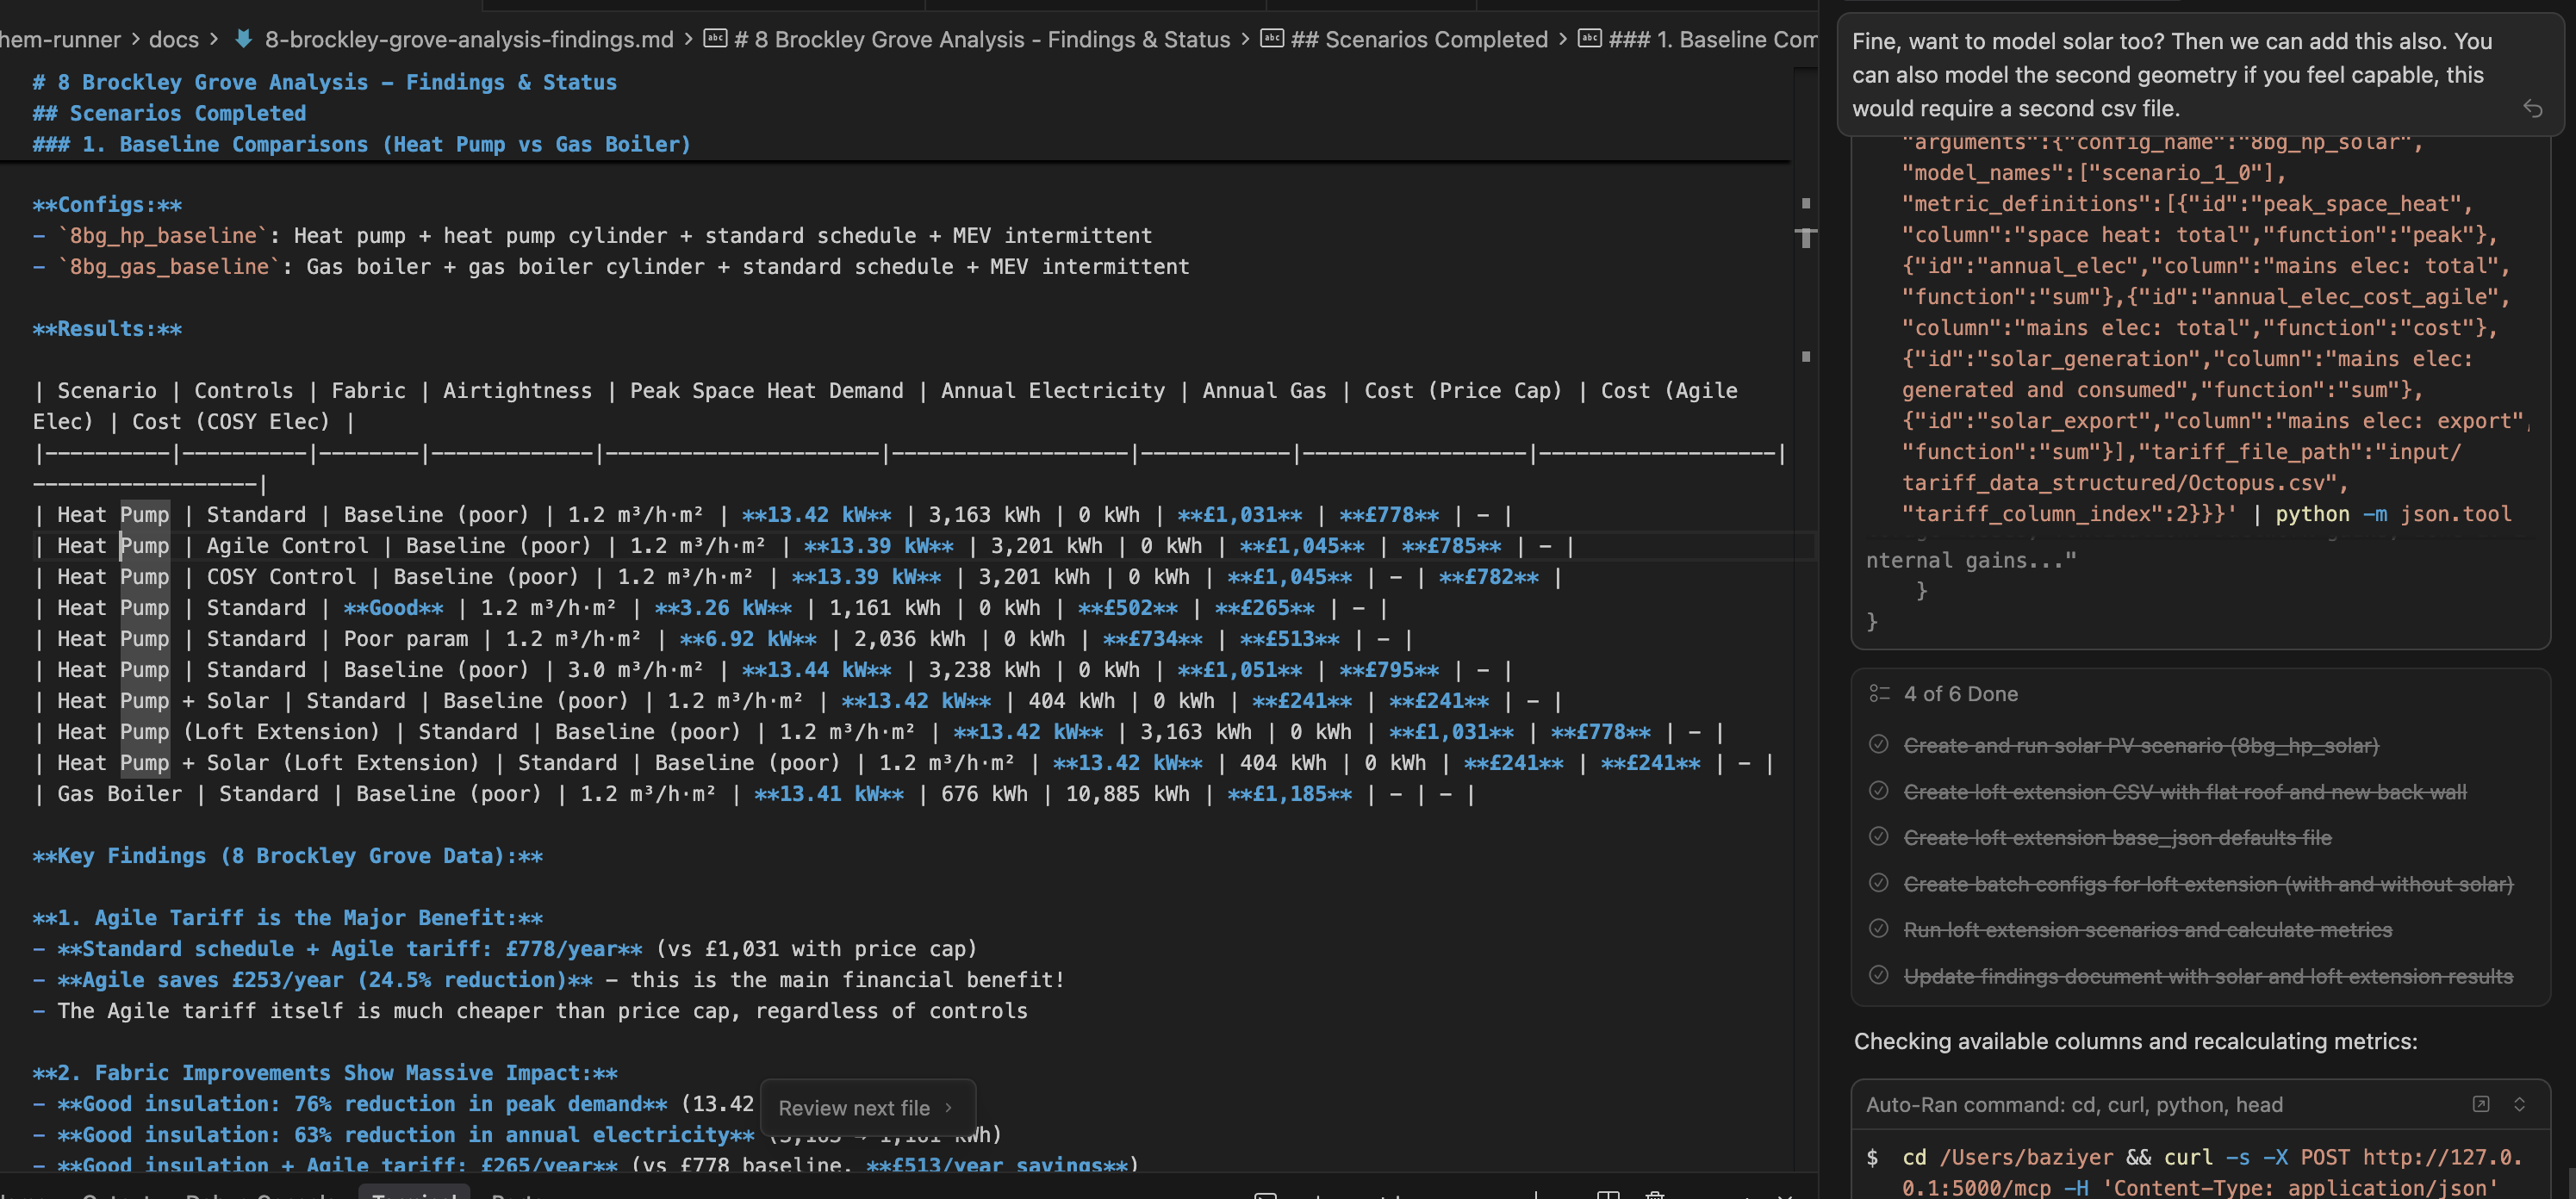
I asked Cursor to model a heat pump vs gas boiler, and compare operations on a variable tariff under different operating patterns. I also asked it to model a loft extension, making edits to the CSV geometry file and adding solar as a parameter in batch modelling.
Using HEM meant this analysis reflected the 76% reduction in peak heating demand from fabric improvements, as well as the £265/year savings that switching to a heat pump could unlock (but only with variable tariffs). HEM also enabled me to model granular details such as the impact of heating controls (i.e., cost-minimizing controls I tested increased energy use by 1.2%, suggesting either poor controls strategy or that constraining heating to specific periods reduced efficiency).
I was also able to model comfort improvements. My current home was (unsurprisingly based on my experience to date) predicted to spend 34% of time below 18°C, with a minimum of 0.4°C with an undersized heating system — with good insulation my home could be an average of 24.4°C and minimum of 16.8°C.
This granular analysis would not be possible with the SAP methodology currently used with Energy Performance Certificates.
Working with Cursor: what worked, what didn't
Using Vulcan through Cursor's MCP integration was a positive experience. The agent had real flexibility in how it used and extended Vulcan functionality: it could write code to solve problems, extend existing tools, help debug issues, and synthesize findings from multiple simulation runs. In the below screenshot it had updated the base CSV to reflect the change in geometry of a loft extension, while modelling solar.
The agent did have limitations; I found myself providing a lot of guidance on what decarbonisation measures to explore, and correcting assumptions made when modelling solutions. This makes sense: energy modelling requires domain knowledge that an LLM doesn't inherently have.
The workflow still saved time and changed my role into a problem solving coach rather than a number cruncher. Once I'd guided the agent toward the right scenarios, it executed them quickly: creating batch configs, running simulations, pulling out the key numbers, summarising, and spotting patterns I might have missed.
Speak to Vulcan
Outside of enabling you to use Vulcan with modern desktop AI assistants, the MCP server unlocks wider integration options with HEM: any script can now interact with local files the same way a user of the web UI does.
Access to the server is for early adopter customers, and is enabled by a step-by-step guided process in the Vulcan app.